Basics for Creating a Classroom Training
Courses and Learning Paths are meant for a user to complete by themselves online. Classroom training is a group setting where training is facilitated in person by a trainer.
Creating a classroom training is very similar to a course or learning path, but there are some differences. To review how to create a course review this article. We will discuss the differences in creating a classroom training below.
To create a Classroom training, click on the Training menu dropdown, click on Face-to-Face, and then click on blue box titled Add Training. You will see two options; Classroom and Remote. Go ahead and choose Classroom.

A modal will pop with fields: name, description, groups, teams, and categories. You can select multiple groups, teams, and categories for the training. Once you fill out these fields and click create, your training will be created.
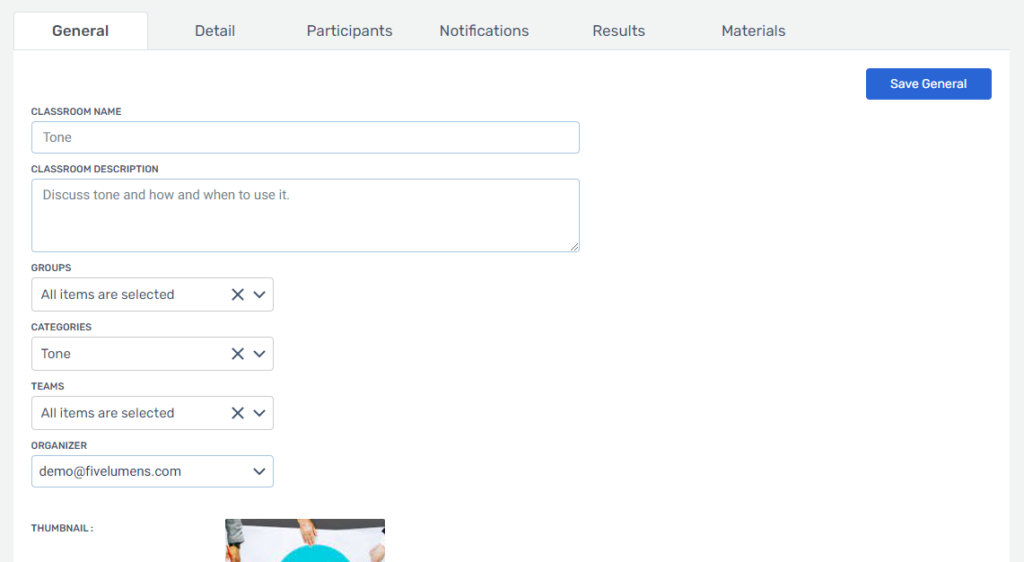
General
There are three main differences for a Classroom Training. Classroom trainings do not have a module/course completion order or due dates. A Classroom training has a user assigned as the organizer. This could be the person who created the training or the trainer facilitating the training. This is up to you on whom to assign as the organizer.
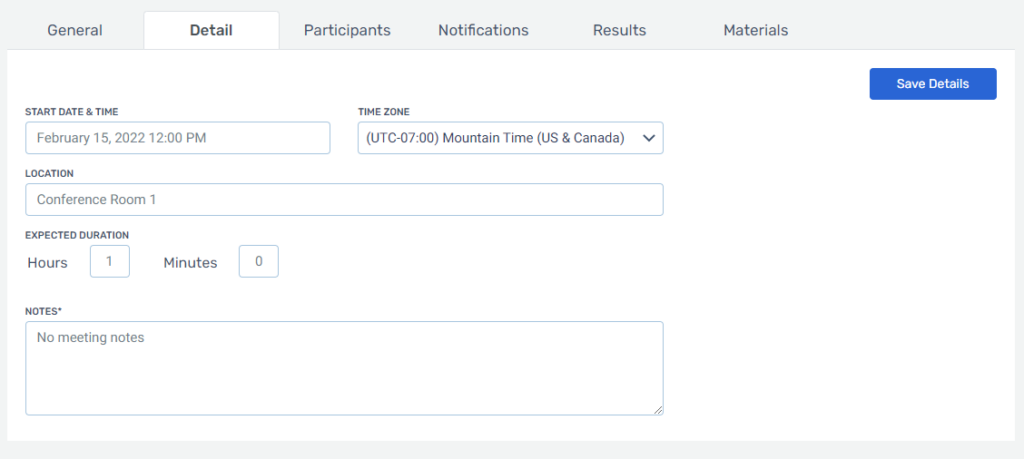
Details
In Courses and Learning Paths you have a modules or courses tab. Here you create the modules for the online course or assign courses to a learning path. For Classroom trainings you have neither of these. Instead you have a tab for the training details. This includes the start date & time, time zone, location, expected duration, and notes.
Participants
Adding and removing participants are the same as Courses and Learning Paths. For Classroom, the option for change due dates has been removed and the option for track attendance has been added.
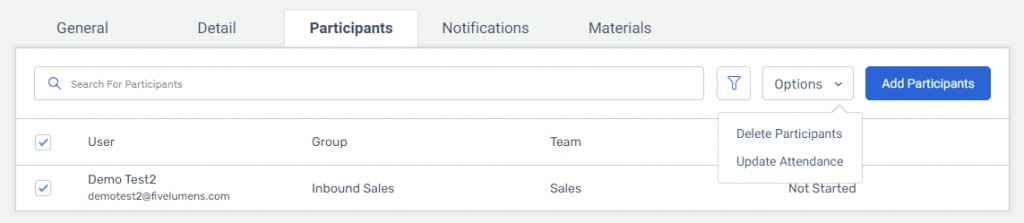
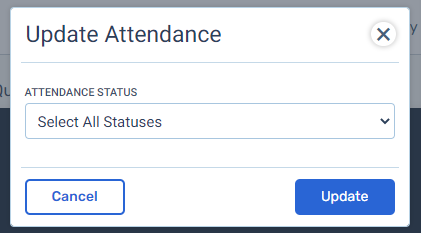
First, select the participants to update. Next, click on update attendance. Last, choose the status from the dropdown in the Update Attendance modal below. There are only two statuses: attended or not attended. This will change the status for each participant selected.
Notifications
Notifications work the exact same way for all courses, learning paths, remote, and classroom trainings.
Materials
Courses and Learning Paths do not have this tab. The purpose of the materials tab is to allow the organizer to attach training materials to the training for the trainer or trainers to access for the training.
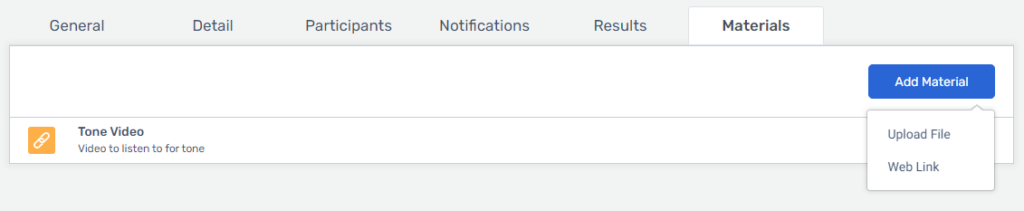
To add materials click on the materials tab and then click on the blue box titled Add Materials. You will see two options: Upload File and Web Link.
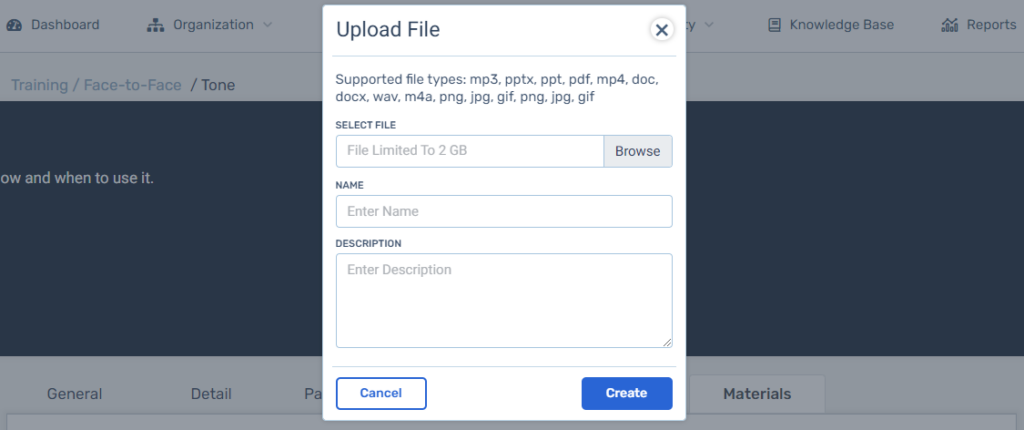
Choose the supported files in the Upload File modal. The trainer can view these in the training and they can download them locally.
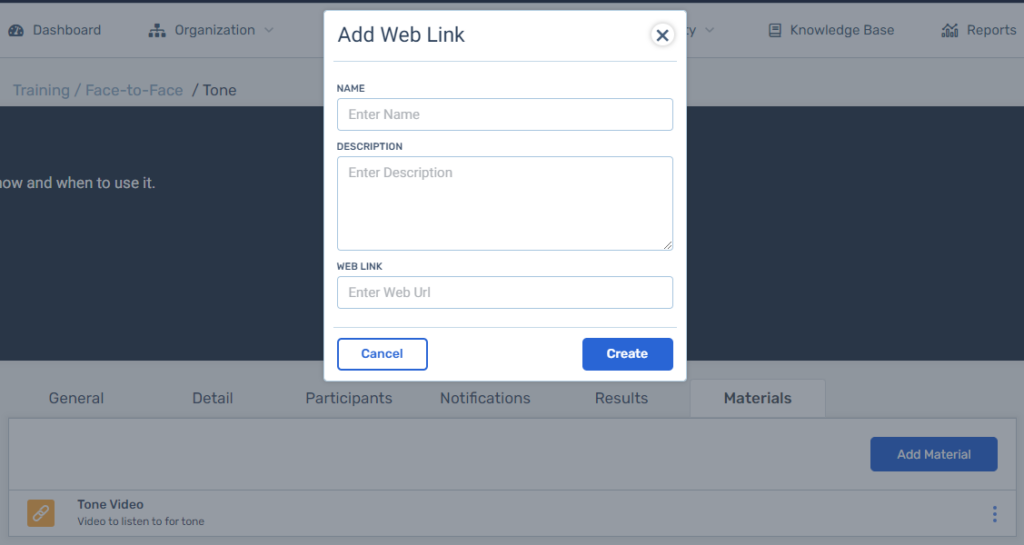
Enter the web link in the web link modal. This will be available for the trainer to access in the training.
Materials can also be deleted. Click on the action items icon at the end of the row for the materials added and choose delete. This will permanently delete the materials from this training and the account.
Note:
Once you are done with creating the Classroom training, you do not need to publish it. The training is live and the participants will be notified they have been assigned to this training.